MAKING OF "POKER MASTER"
This article was featured in "3D Creative Magazine" issue #49 June 2009. If you want to download a pdf version, click HERE
In This "Making OF" article I wil try to explain the techniques that I used to create this image. I will focus mainly upon the creation of the character:
MODELLING
I made a basic model in Maya, taking care to ensure that all the polygons were four-sided, and then exported it to Zbrush.
I could have generated the UVs here; this would have been a good moment for projection mapping. But I decided that I would use UVLayout later. With this software, the “pose” of the geometry doesn’t matter, and so I decided to wait for more detailed meshes from ZBrush.
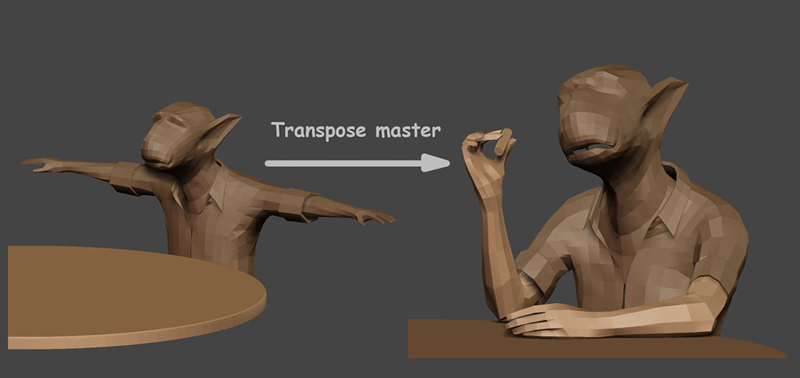
I imported the OBJs into a ZBrush file using SubTools. I created some reference objects, like the table and cigar, and then posed the character using Transpose Master.
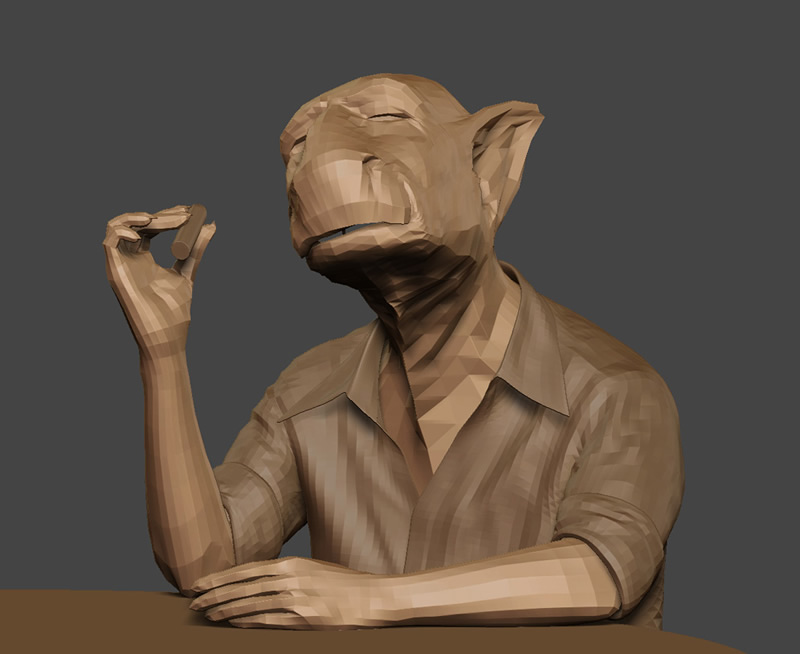
Using the Standard and Move brushes, I then began the process of adding detail and refining the meshes. I continued this until I had something similar to the geometry that I wanted, but still with a low number of polygons
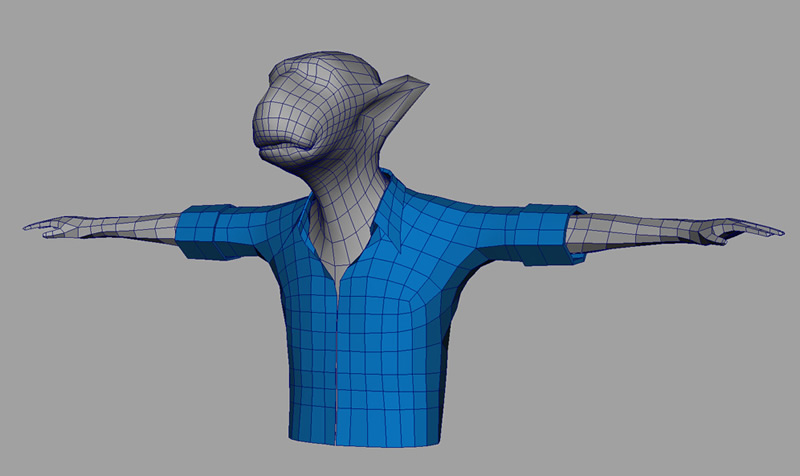
I deleted the polygons that were not going to
be visible, like the torso and the interior of the
shirt. I then had three different meshes: head,
arms and shirt. I exported these meshes to
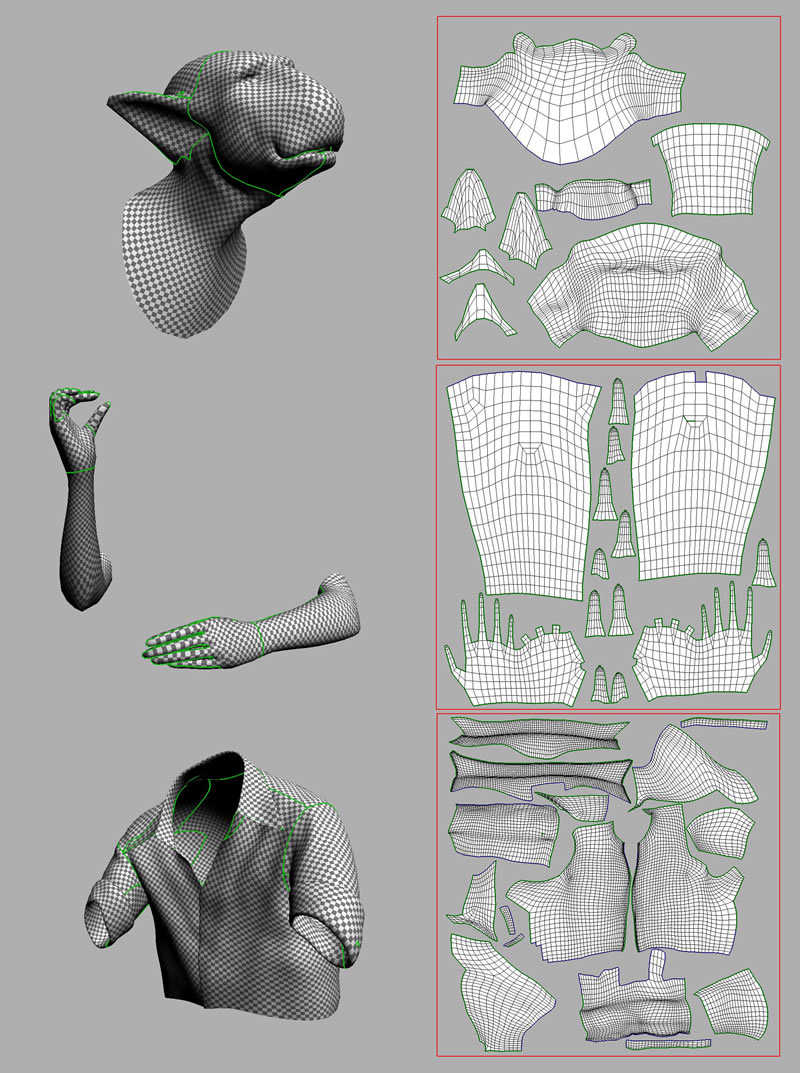
OBJ format to create the UVs with UVLayout.
In UV layout, I made some UVs shells for better
distribution and less distortion of the UVs. I tried
to place the seams away from the view.